[ad_1]


This DIY iPad stand tablet holder is perfect for holding your device on your desktop during Zoom calls for online school or working from home, or for holding your tablet while you follow a recipe in the kitchen. Make your own for around $5!
Working and schooling from home? You’ll also love our DIY folding desk plans and IKEA hack double duty desk — and don’t miss 25+ DIY charging station ideas!

DIY iPad Stand or Tablet Holder
by Amy from Hertoolbelt
This post contains affiliate links. Learn more and read our full disclosure policy here.
I like trying new recipes and most of them are online — just look at all the recipes here on Remodelaholic! (Because even when the kitchen is under construction, a DIYer’s gotta eat 😉
My tablet is so handy in the kitchen, but a tablet holder or iPad stand is a must have.
I loved the rustic bread board look of this Pottery Barn version, but it’s no longer available.

Luckily for you and me, it’s so easy to make this DIY iPad stand for your tablet — get the printable plans and template here.
See more modern farmhouse kitchen ideas here.

Click here to add this iPad stand template and plan to your cart
How to Make a Wood iPad Stand
You can make 3 tablet or iPad stands from a single 1×10 board, which only costs about $9 (depending on local prices).
The hinge for each wood iPad stand kickstand is around $1, and the other hardware is cheap — and you might even already have around the house.

So total cost for each DIY tablet stand is around $5!
Make one for yourself and two more for friends or family! These would be easy to personalize for teacher gifts or neighbor gifts at Christmas, too.
Related Reading: 25 + DIY Charging Station Ideas
Materials for DIY iPad stand/tablet holder
Building the Wooden Tablet Stand
Get the breadboard template and printable tutorial here. (The printable plan includes full detailed measurements as well as the curved cutting board style template.)
Step 1: Prepare the wood stand pieces
To fit a smaller 10- to 11-inch tablet, trim the board to width; for a wider tablet stand, no trimming is needed.
Then, print and trace the breadboard iPad stand template (included in the printable plan here).
Cut out the breadboard stand backing and the stand front (with the notch). Also cut the stand ledge piece and the kickstand, as detailed in the printable plans.
Sand all of the pieces as necessary.
Step 2: Assemble
Stack the breadboard backing, ledge, and notched front piece, making each piece flush at the bottom and sides.

Apply wood glue to the joining faces and secure with 2″ brad nails or screws. (I nailed a few of the nails from the front and a few from the back.)
Once the glue is dry, if you’d like, use the sander to round over the bottom outer corners. Drill a 3/8″ or bigger hole in the center of the handle.
Step 3: Finish
Remove any excess glue, apply wood filler to holes, cracks and blemishes and allow to dry.
Sand the wood filler and holder until smooth, finishing with 120-150 grit sand paper. Paint or stain the holder and kickstand, allow to dry.
Related Reading: How to Make Homemade Wood Stain
I wanted a nice rich dark brown/red color, so here’s what I did:
- I applied pre-stain conditioner to the kitchen tablet holder and waited about 30 min.
- Then I applied Minwax Dark Walnut stain, let it sit for 5 minutes or so and wiped off the excess. I let the walnut dry over night.
- Finally I applied a coat of Minwax Polyshades Mahogany Bombay and let that fully dry. The mahogany bombay left a nice rich color on the wood. One perk of the polyshades is that it contains a top coat, so no need for polyurethane later.
Step 4: Add Kickstand and Rope Handle
Cut about a 12″ piece of rope, thread it through the handle hole. Tie a simple knot in the end of the rope.

On the back of the kitchen tablet holder, measure up and mark the kickstand location (as detailed in the plans), then predrill and install the hinge.
Pre-drill a small hole in the lower side of the kickstand, and install a small eye hook or pan head screw.
Pre-drill a small hole in the back of the holder and install another eye hook or pan head screw. Attach a piece of string or chain to each eye hook or screw.
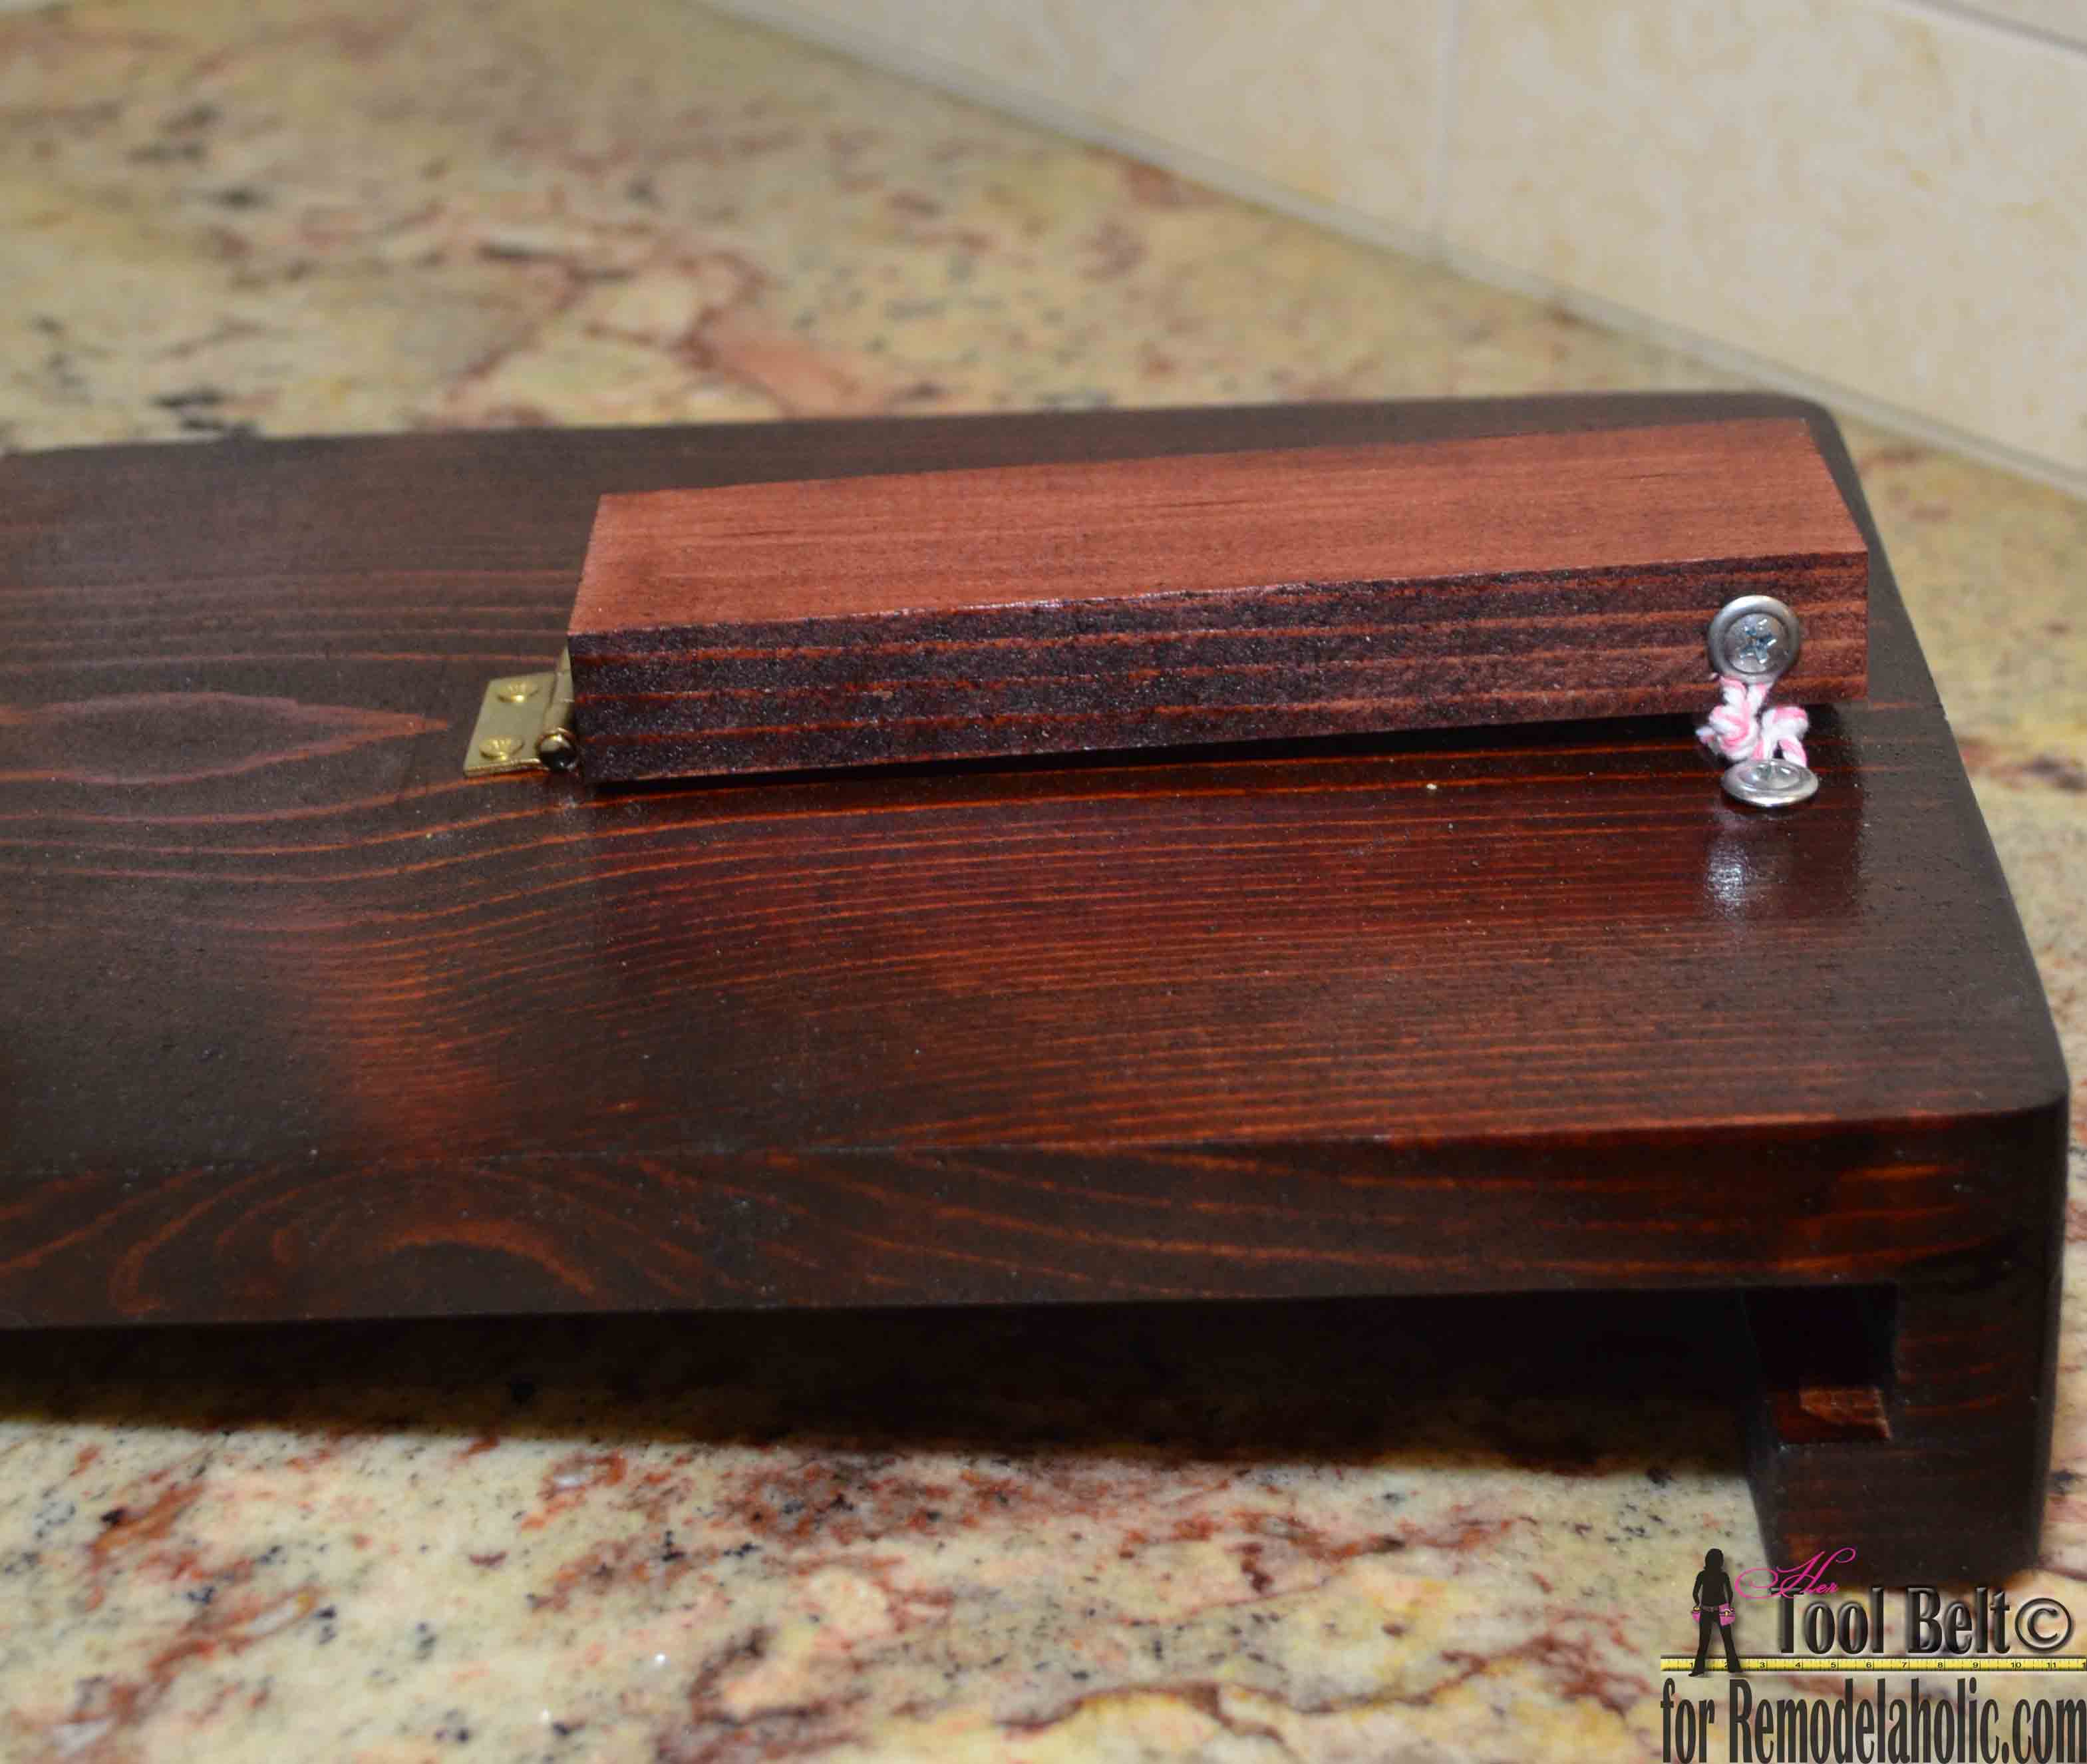
Adjust the string to the length that will let your kitchen tablet holder sit at a good angle. Then tighten the screws and/or knots.

Completed! Enjoy cooking with your new kitchen tablet holder, or Zooming from your new iPad stand, or whatever you want to use your new tablet stand for!
You’ll also like these other one board projects:
Save to Pinterest to share and bookmark for later!

First published 11 Dec 2014 // Last updated 5 Oct 2020
About Amy Baesler
[ad_2]
Source link